
Though AutoCAD is not my favorite CAD software for rendering, it features pretty solid rendering capabilities. Here we will have a shallow look into what rendering is, after modeling your 3D object with AutoCAD.
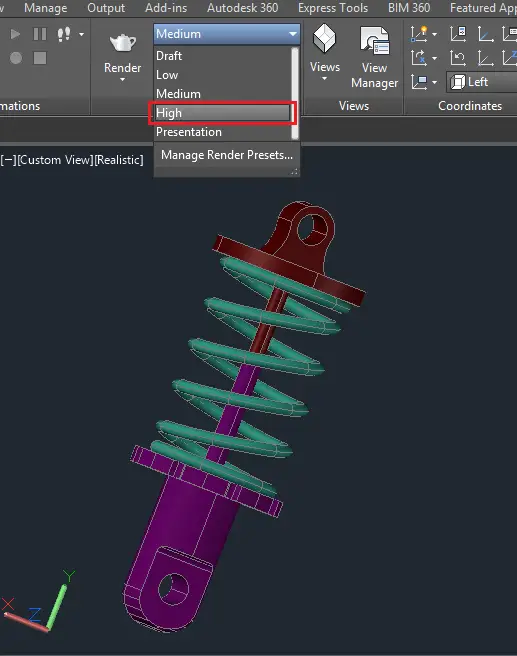
Let’s use the following 3D object modeled on AutoCAD.

AutoCAD Rendering
Let’s get on the Visualize tab, where the tools related to rendering are.
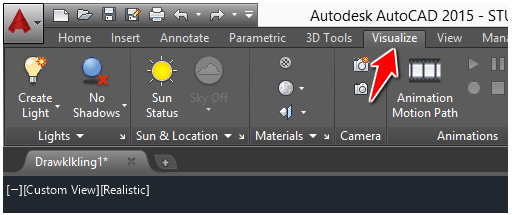
That will give you access to the following panels. (We will not go through the use of all panels under the Visualize tab, We will cover the ones you need to know to start rendering your 3D projects in AutoCAD which are the following)
Lights

Sun and Location

Materials

Camera, Animations, Render and Views

Default rendering
Before using all these complex parameters to beautify the final rendered image, let’s first go raw and see what the result is.
To try this, simply hit the Render icon on the Render tab.

A pretty ugly image, right!?
AutoCAD is applying the default material and texture to the 3d object, making it even uglier than it is in the drawing windows. What can we do about this?
Materials
We now will use the AutoCAD material library, apply some of these materials to designed object and see how it will affect the rendering.
Click on the link shown on the image below to display AutoDesk material library.

Here we go!

To apply a material to the design, click on a texture in the library, drag and drop it on the object to apply the texture to that part of the material.
Here are the category of material you can browse from and use.

Let’s look at some results.
Let’s adjust the rendering quality to high
Here is the result when applying some plastic material to the design.

Let’s try some other material (some metal)
Result

It looks a lot better from what we had in the beginning. But I am not satisfied with the result yet. We need some light here!
Adding light to the scene
The most easy setting for obtening a bright scene is to activate the sky
Let’s turn the sky on
Sky mode works only in PERSPECTIVE mode
To activate the mode
- Type PERSPECTIVE in the command window and press ENTER
- Type 1 and press ENTER
After doing this, you will notice that the Sky icon has turned on.

You can now use one of its mode
Let’s render
Result

Another shoot

You can play with the many possibilities and select the one that fit best your project.
One of the advantages of this sky on thing, is that it also comes with a nice background ready to use. When rendering a small 3D object like this one, you can easily use what we have just learned and get away with it. But if you are working on a 3D architectural building, you will need more knowledge to be able to come out with something reasonable.
While I have in mind to write a second article on this topic, I would suggest you check mycadsite, he has an example you should definitely check out.


Comments
Post a Comment
Terimakasih